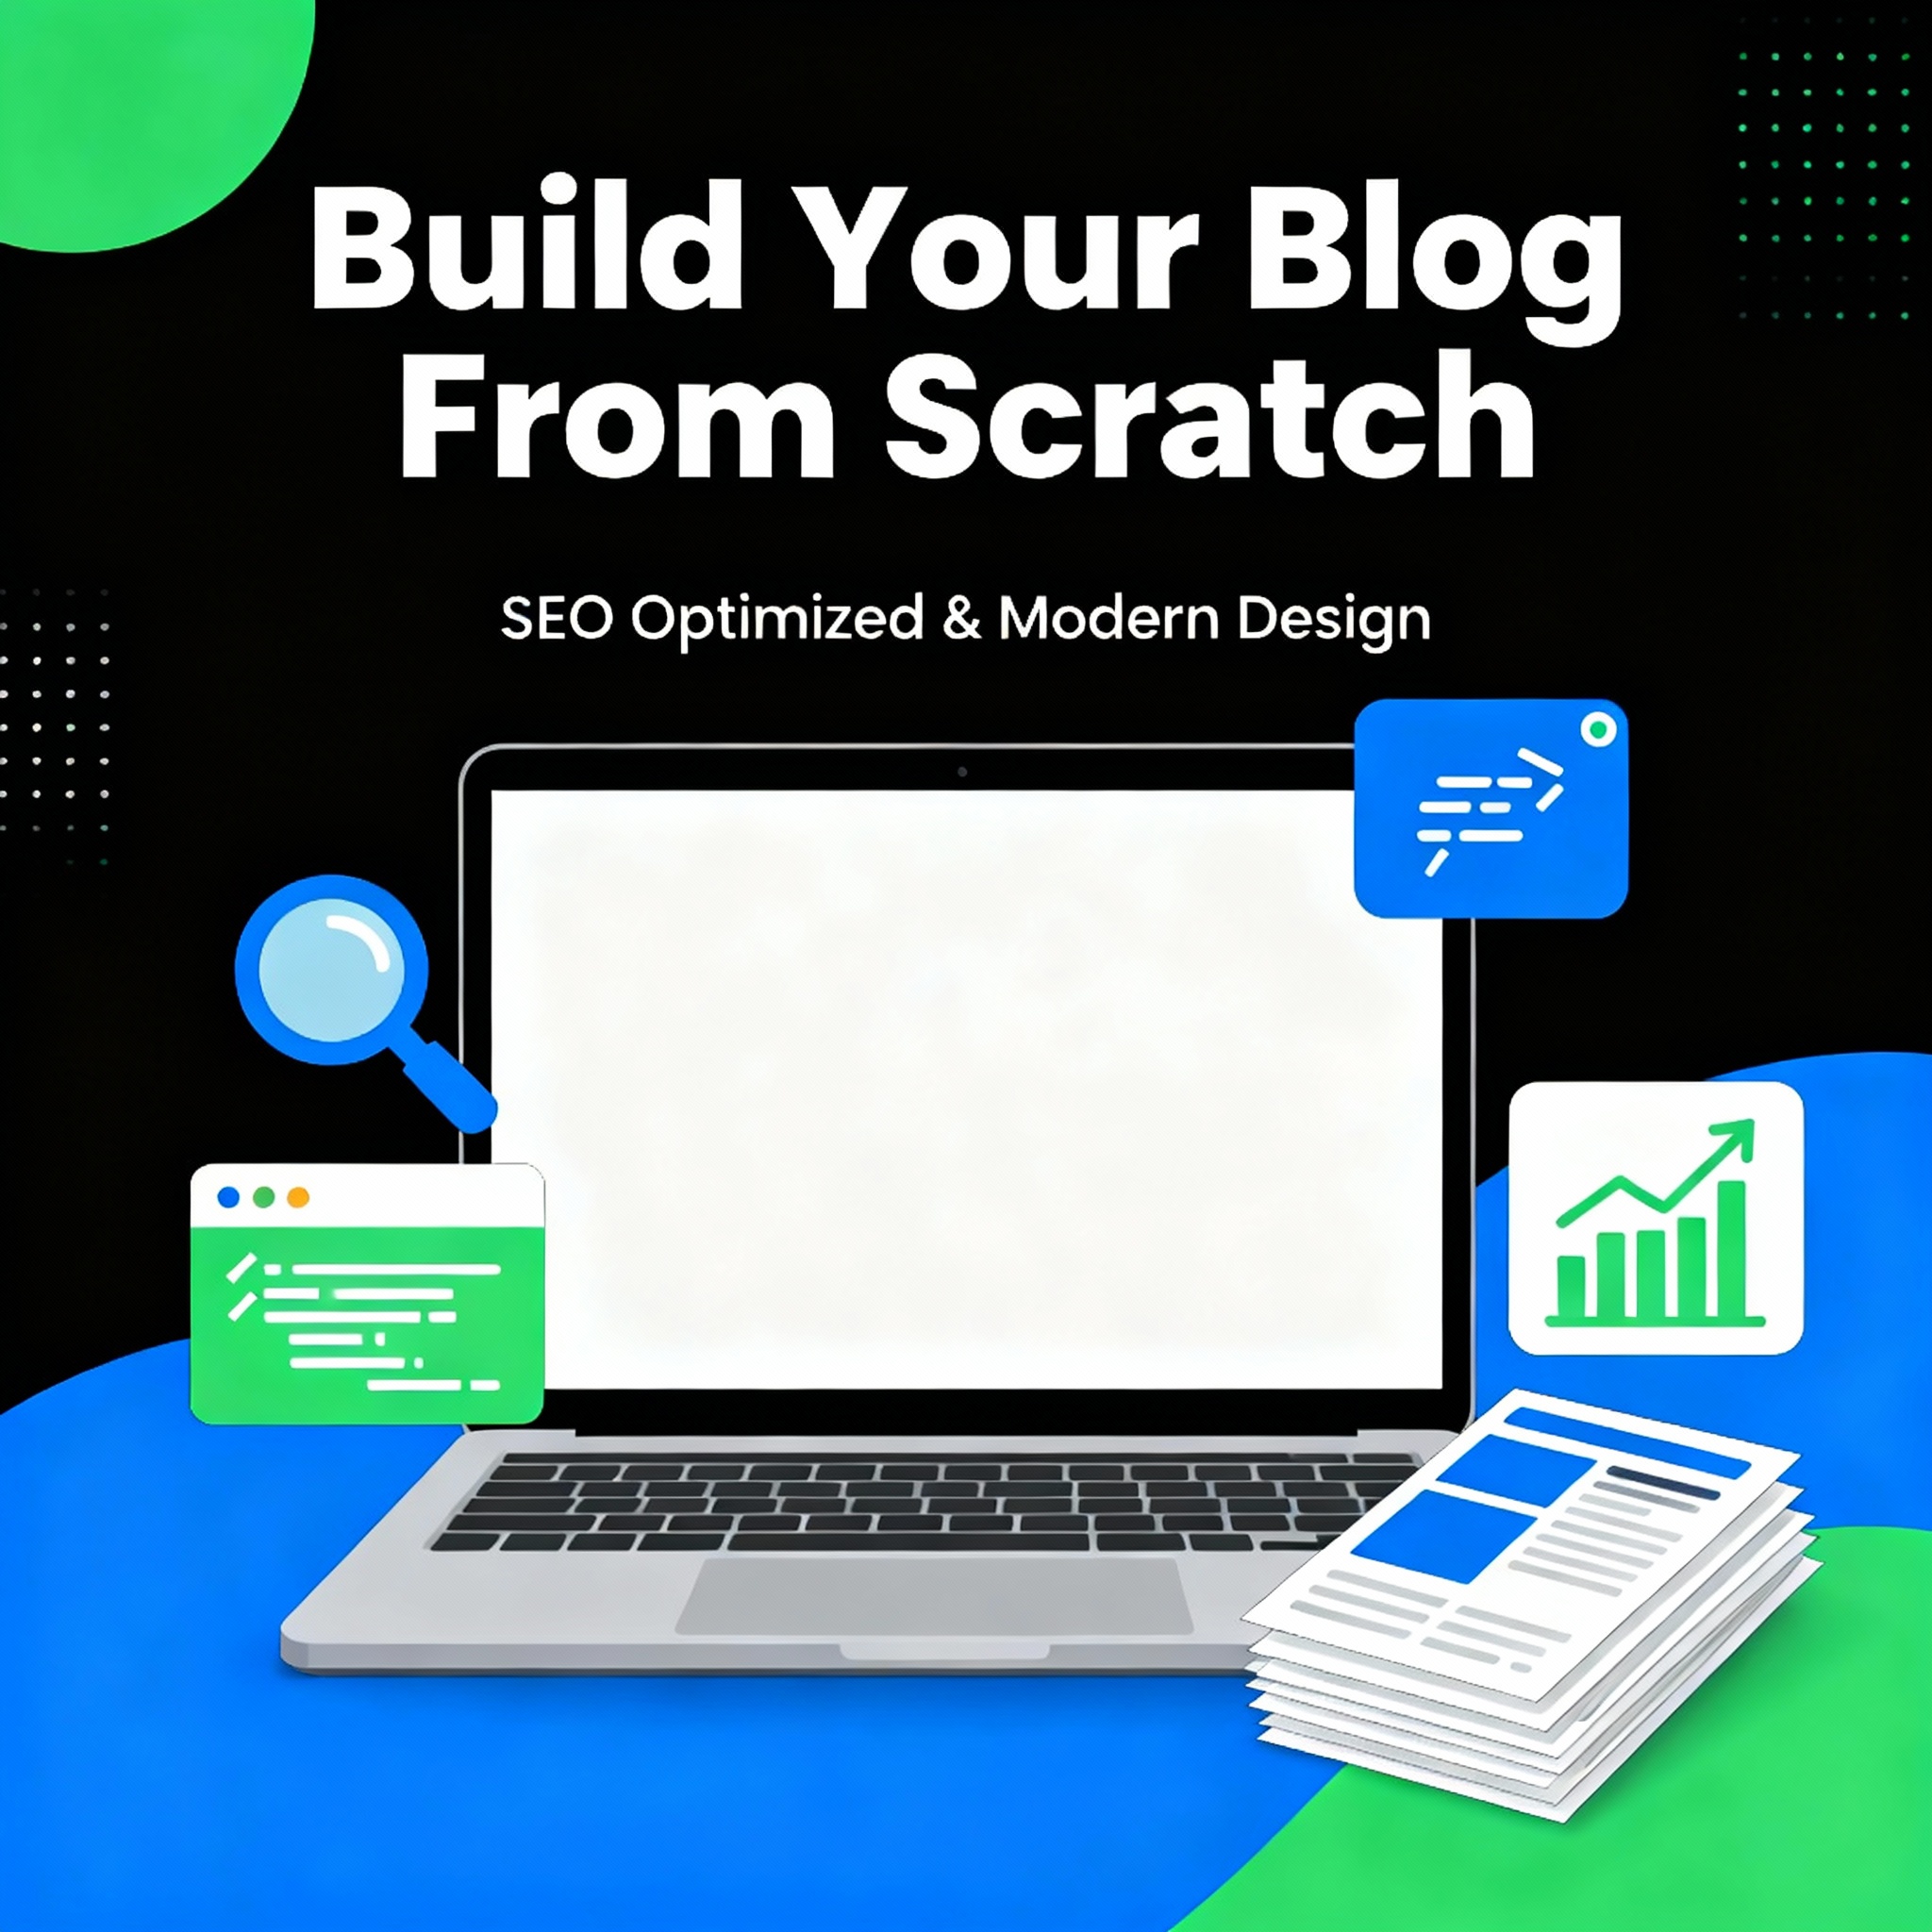
Learning how to start a blog from scratch can feel overwhelming, but with the right strategy and tools, it’s more achievable than you think. This comprehensive guide will walk you through every step to launch and grow your blog successfully.
1. Understand What “From Zero to Hero” Really Means
Before you start, you need a clear picture of what you are building.
Zero = no domain, no content, no audience, no plan.
Hero = clear niche, working blog, regular visitors, and a path to income.
Your job is to move through the steps, one by one, without skipping.
You are not trying to build a perfect blog on day one. You are building a simple but solid blog that you can improve over time. This is how most successful blogs start. The key is to treat it like a process, not a random experiment.
In this guide, you will see what a successful blog is, why it matters, and exactly how to create and grow it step by step. You can follow this guide even if you have never built a website before.
2. Define Your Blog’s Purpose and Niche
2.1 What a Blog Niche Is
The first key step on how to start a blog is choosing the right niche. A blog niche is the main topic and angle you will write about.
Examples of niches that work well for a global audience:
Simple productivity tips for busy professionals
Beginner-friendly fitness and healthy habits
Budget-friendly travel planning
Side hustles and online income basics
Easy recipes and meal planning
Your niche should be specific, useful, and sustainable.
2.2 Criteria for Choosing a Strong Niche
Use this table to check whether your niche idea is strong:
Criterion
What You Should Aim For
Personal interest
You can talk/write about it for at least a year.
Basic knowledge
You already know more than a complete beginner.
Problem-solving potential
You can help people solve specific, real problems.
Demand
People search for it regularly online.
Content potential
You can list at least 30 post ideas in this niche.
If your idea matches most of these points, you have a solid starting point.
2.3 Practical Niche Examples (Global-Friendly)
Here are some globally relevant niche examples and how you might angle them:
Niche Topic
Example Angle
Target Reader Type
Remote work
Simple productivity systems for remote workers
Employees, freelancers, digital nomads
Fitness
No-equipment home workouts for beginners
People training at home
Cooking
One-pan meals for busy people
Students, workers, parents
Language learning
Learning a new language with 20 minutes a day
Global learners
Personal finance
Basic money management for beginners
Young adults, new workers
Once you choose your niche, stick with it for at least 3–6 months so search engines and readers understand what your blog is about.
3. How to Start a Blog: Plan Your Strategy Before You Build
3.1 Define Your Main Goal
Do you want to:
Build authority in a topic?
Attract clients or customers?
Earn affiliate income or ad revenue?
Grow a personal brand?
Write down one primary goal and one secondary goal.
Goal Type
Example Goal
Primary goal
Earn side income from affiliate products in 12 months
Secondary goal
Grow an email list of 1,000 engaged subscribers
Your goals will influence your content, design, and monetization strategy.
3.2 Decide Your Ideal Reader
Instead of writing for “everyone”, define one typical reader.
Attribute
Example Description
Life situation
Works full-time, limited free time
Main problem
Wants to start a side blog but feels overwhelmed
Desired outcome
Clear steps and practical advice to build a profitable blog
Preferred style
Simple, direct language with examples and visuals
When you write each post, imagine helping this person.
3.3 Outline Your First 10–20 Blog Posts
Do this before you start building the site. It keeps you focused.
Post Number
Working Title Example
Post Type
1
How to Choose a Blog Niche That Can Actually Grow
How‑to guide
2
Step-by-Step: Setting Up Your Blog on a Budget
Tutorial
3
10 Common Blogging Mistakes Beginners Make (and How to Avoid Them)
7 Essential Blogging Tools You Can Start With for Free
Tools list
8
How to Promote Your Blog Without Paying for Ads
Promotion guide
9
Beginner’s Guide to Monetizing Your Blog Step by Step
Monetization guide
10
How to Stay Consistent with Your Blog When Life Gets Busy
Mindset/process
You can later link this section to an internal guide on content planning if you have one.
4. Buy Your Domain and Hosting
4.1 What You Need
The next crucial step on how to start a blog is securing two basic essentials:
A domain name – your blog’s web address.
A hosting plan – the server space where your blog lives.
4.2 Choose a Domain Name
Guidelines for a good domain:
Short and easy to type
No complicated spelling or symbols
Reflects your niche or brand
Works globally (no country-only references unless necessary)
Bad Example
Why It’s Not Ideal
bestblog1234-xyz.com
Hard to remember, looks spammy
onlyusablogtips.net
Too country-specific, limits global reach
Better Example
Why It Works
mindfulproductivity.com
Clear niche idea, clean, easy to remember
simplemealplans.com
Describes content, easy and global
4.3 Select a Hosting Provider
Look for these features in a host:
Good uptime (reliability)
Easy one-click installation for blogging platforms
Free SSL (for secure HTTPS)
Helpful customer support
A simple comparison:
Hosting Aspect
What to Look For
Uptime
99.9% or higher
Starting price
Affordable entry-level shared plan
Ease of use
Beginner-friendly dashboard
Scalability
Ability to upgrade as traffic grows
Once you buy both domain and hosting, you connect them through DNS settings in your hosting panel and then move on to installing your blogging platform.
5. Install Your Blogging Platform and Essential Pages
5.1 Choose a Platform
When learning how to start a blog, choosing the right platform is critical. Most new bloggers use a flexible content management system that lets them install themes and plugins. Here is a simple comparison:
For maximum flexibility and long-term growth, WordPress.org is usually the best choice.
5.2 Install and Configure Your Platform
Once your hosting account is active:
Use the one-click install option for your platform (for example, WordPress).
Set your site title and tagline (these can be edited later).
Create a main user account with a strong password.
Then configure basic settings:
Set a clean permalink structure (e.g., yourdomain.com/post-title).
Enable SSL so your blog loads via https://.
Set your main language and time zone.
5.3 Create the Core Pages
Before you start writing lots of posts, create these pages:
Page Name
Purpose
Home
Introduces your blog and highlights key content
About
Explains who you are and what your blog offers
Blog / Articles
Lists your posts
Contact
Gives readers a way to reach you
Privacy Policy
Covers basic legal and data-use information
You can later create internal links from your posts to the About page (for trust) and key resource pages.
6. Design a Clean, Reader-Friendly Blog Layout
6.1 Choose a Simple, Responsive Theme
The design phase of how to start a blog significantly impacts user experience. Pick a theme that:
Looks clean and modern
Is responsive (works on desktop, tablet, and mobile)
Uses readable fonts and good spacing
You do not need a complex design to start. A simple, well-structured layout is better than a flashy but confusing design.
6.2 Basic Layout Elements
A practical blog layout usually has:
Area
What It Should Contain
Header
Logo or name + main navigation menu
Hero section
Key message and maybe a call-to-action (like “Start here”)
Content area
Blog posts or static content
Sidebar
Optional: categories, search, popular posts, opt-in form
Footer
Links to important pages and social profiles
Use headings, short paragraphs, and lists to make everything easy to scan.
6.3 Visual and Accessibility Tips
Use a limited color palette so the design looks clean.
Maintain strong contrast between text and background.
Add alt text for every image so screen readers can describe it.
Example of an image suggestion:
Insert an illustrative image here showing a simple blog homepage layout with header, content area, and sidebar.
[Alt text: Clean and minimal blog homepage with logo, menu, and featured posts visible.]
You can later add an internal link like “blog design checklist” if you publish a separate design guide.
7. Create a Practical Content Plan and Write Your First Posts
7.1 Set a Realistic Publishing Schedule
Content consistency is crucial for successful blogs when you learn how to start a blog. Choose a posting frequency that you can maintain:
1 post per week (good starting point)
2 posts per week if you have more time
The key is consistency. It is better to publish one solid post every week than to publish five posts in one week and then disappear for a month.
7.2 Structure of a High-Quality How‑To Blog Post
Use this simple structure for most of your posts:
Section
Purpose
Introduction
State the problem and who the post is for
Background / What
Explain key concepts or terms
Step-by-step
Show how to do it in clear steps
Examples
Show what it looks like in real situations
Summary / Next
Recap and invite the reader to take action
Always keep the content practical and actionable, not just theory.
7.3 Checklist for Writing a Beginner-Friendly Post
Use this checklist when writing:
Use short sentences and paragraphs.
Explain jargon in simple words.
Include bullet points and numbered lists for steps.
Use bold to highlight main ideas and key actions.
End with a clear next step for the reader.
Example checklist table:
Item
Done?
Main keyword used naturally
✔
Clear introduction
✔
Steps numbered and logical
✔
At least one example included
✔
Call-to-action at the end
✔
8. Apply Basic On‑Page SEO to Each Article
8.1 Why On‑Page SEO Matters
On‑page SEO helps search engines understand your content and match it with search queries. You do not need to become a technical expert, but you should follow some simple rules.
8.2 Core On‑Page SEO Elements
For each blog post, check these:
Element
What to Do
Title
Include the main keyword naturally
URL
Keep it short and descriptive
Headings (H2)
Use them to structure sections with related phrases
First paragraph
Mention the main topic clearly
Images
Add descriptive file names and alt text
Internal links
Link to related posts and important pages on your own blog
8.3 Example Basic SEO Checklist
You can use this table as a quick SEO pass before publishing:
Later, you can create an internal link from this section to your own detailed SEO guide or checklist.
9. Promote Your Blog and Grow Your Audience
9.1 Start with Organic Promotion
As you learn how to start a blog, remember that promotion is essential. When you publish a post, do not just wait for people to find it. Share it actively:
On your personal and professional social profiles
In relevant online communities (where promotion is allowed)
Via email to friends or colleagues who might be interested
The goal is to get the first readers, feedback, and initial engagement.
9.2 Build an Email List Early
An email list helps you keep in touch with people who like your content.
You can use email tools that offer a free tier to:
Collect email addresses with a simple form
Send newsletters or updates when you publish new posts
1. How long does it take when you learn how to start a blog from To successfully learn how to start a blog, you need to understand the timeline. scratch?If you follow a clear process, you can set up the technical parts (domain, hosting, platform, core pages) in 1–2 days. Building traffic and a consistent content library usually takes at least 3–6 months of regular posting and promotion.
2. How often should I publish new blog posts?
A realistic starting point is one high-quality post per week. Once you build a routine and gather more ideas, you can increase to two posts per week if you have time, but consistency is more important than volume.
3. Do I need to know how to code to start a blog?
No. Most modern blogging platforms and themes allow you to set up and customize your site using visual editors, menus, and settings. Coding skills can help later but are not required to reach a solid beginner and intermediate level.
4. What is the minimum content I should have before launching?
Aim to have at least 3–5 well-written posts published before you start promoting your blog. This gives new visitors more to explore and increases the chances that they will stay longer and return.
5. When should I start caring about SEO?
You should apply basic on‑page SEO from your very first post, such as using clear titles, headings, and descriptive URLs. More advanced SEO (backlinks, detailed keyword research) can be added as your content library grows.
6. How much does it cost to run a blog?
At a minimum, you will usually pay for domain registration and hosting. Many tools, themes, and plugins offer free versions that are enough for the first stages, so you can keep costs low while you learn and grow.
7. How soon can I make money from my blog?
It depends on your niche, posting frequency, and promotion. Many people start testing affiliate links or simple digital products after a few months, once they have some steady traffic and an engaged audience.
8. What should I do if I run out of content ideas?
Revisit your niche’s core problems and write more detailed guides, FAQs, or updated versions of popular topics. You can also use keyword tools, reader questions, comments, and forums to find new questions that your readers need answered.
9. How do I stay motivated when growth feels slow?
Set small, clear goals such as a certain number of posts, email subscribers, or monthly visitors. Track your progress and review your analytics to see which posts perform better, then create more of that type of content.
10. Is it better to blog under my real name or a brand name?
Both can work. Use your real name if you want to build a personal brand and possibly sell services later. A brand name can be useful if you want to make the blog feel less personal and potentially sell or expand it in the future.
14. Clear, Practical Conclusion and Next Steps
To build a successful blog from scratch, you need to treat it as a clear process, not a random experiment. You start by choosing a focused niche, planning your content, and setting up your domain, hosting, and platform. Then you design a clean, accessible layout, publish consistent, helpful posts, apply basic SEO, promote your work, and finally introduce monetization step by step.
The most important things you can do right now are simple:
Choose your niche and write down your primary blog goal.
Buy a domain and hosting, and install your blogging platform.
Create your first three to five posts using the structures and checklists from this article.
If you follow these steps, you will move from “zero” (no blog at all) to a working, growing blog that can eventually become a strong online asset. You now have a complete, ready-to-use, how-to guide that you can reference whenever you create or optimize your blog. Use this guide as a checklist to ensure you’re covering all the key steps.


")
